Mastering the art of cake cutting ensures everyone receives a delightful portion! This guide focuses on an 8-inch round cake,
perfect for smaller celebrations or intimate gatherings․
Precise cuts elevate the presentation and guest experience, transforming a simple dessert into a memorable moment․
Why Proper Cutting Matters
Beyond simply dividing a cake, proper cutting significantly impacts the overall enjoyment for your guests․ Uneven slices can lead to disappointment, with some receiving considerably more (or less!) than others․ A thoughtfully cut cake demonstrates consideration and attention to detail, enhancing the celebratory atmosphere․
Furthermore, consistent portion sizes are crucial for buffet-style services, ensuring a fair distribution and preventing a rush for the “bigger” pieces․ A clean cut also preserves the cake’s aesthetic appeal, maintaining the beautiful presentation created by the baker․
Ultimately, mastering cake cutting isn’t just about technique; it’s about creating a positive and memorable experience for everyone involved, making the sweet ending even sweeter․
Tools You’ll Need
For a seamless 8-inch round cake cutting experience, gather a few essential tools․ A long, serrated knife is paramount – its teeth grip the cake, minimizing crumbling and ensuring clean slices․ Avoid using a paring or chef’s knife, as they tend to compress the cake․
A cake server or large spatula is equally important for lifting and transferring slices gracefully to plates, preserving their shape․ Consider having a damp cloth nearby to wipe the knife blade between cuts, maintaining precision․
Finally, a rotating cake stand (optional but helpful) allows for easy maneuvering and consistent slice angles․ These simple tools will elevate your cake-cutting skills!
Traditional Wedding Cake Cutting Methods
Historically, the bride and groom jointly cut the first slice, symbolizing their first task as a couple and shared future․
This tradition emphasizes unity and cooperation, creating a cherished wedding moment․
The First Cut: The Bride and Groom’s Cut
The inaugural slice, traditionally performed by the bride and groom together, is steeped in symbolism․ It represents the couple’s first joint task as husband and wife, signifying their commitment to sharing life’s experiences․ Often, the bride’s hand is placed over the groom’s as they both hold the knife, demonstrating unity and cooperation․
This moment is frequently photographed, becoming a treasured memory of their special day․ While some couples opt for a symbolic gesture, others genuinely cut and feed each other a bite of cake – a gesture believed to ensure continued affection and prosperity․ The first cut sets the tone for the cake service, initiating the distribution of sweetness to their guests․
Cutting into Equal Wedges: The Basic Technique
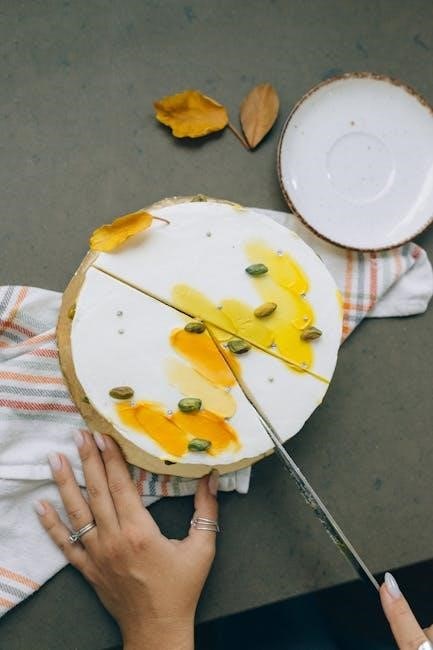
Achieving perfectly portioned slices begins with a steady hand and a sharp knife․ Start by visualizing the cake divided into the desired number of wedges – typically eight for an 8-inch round cake․ A gentle sawing motion, rather than pressing down, minimizes crumbling and ensures clean cuts․ Rotate the cake turntable (if using) with each pass of the knife, maintaining consistent wedge size․
Applying slight pressure while lifting the knife between cuts helps create defined edges․ Wipe the knife clean after each slice to prevent frosting buildup, which can drag and distort subsequent cuts․ Practice makes perfect; don’t be discouraged if the first few slices aren’t flawless!
Step-by-Step Guide to Cutting 8 Pieces
Follow these simple steps for a flawless 8-piece cake division! Mark the center, halve it, create quarters, and then divide each quarter for perfect slices․
Step 1: Marking the Center
Begin by accurately identifying the precise center of your 8-inch round cake․ This foundational step is crucial for achieving evenly sized portions․ A simple method involves gently using a clean, sharp knife to score a very light cross across the cake’s surface, connecting opposite edges․
Alternatively, you can visually estimate the center and lightly press down with your fingertip to create a small indentation․ This point will serve as your starting point for the initial cut․ Ensuring accuracy at this stage minimizes the risk of uneven slices later on․ Take your time and double-check your mark before proceeding to the next step – a well-defined center is key to a professional-looking result!
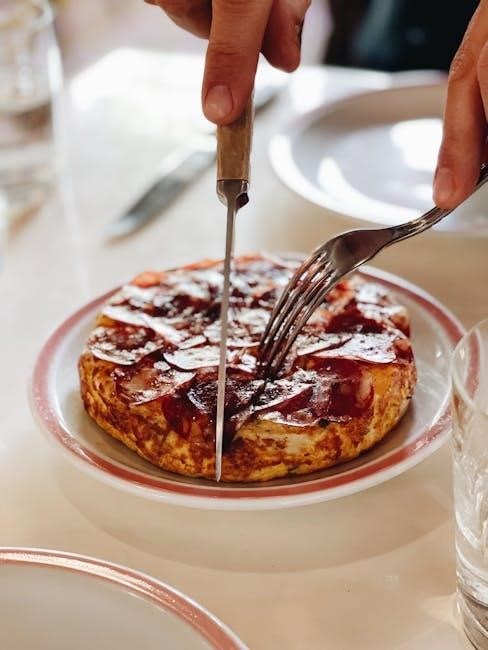
Step 2: The Initial Cut – Dividing in Half
With the center clearly marked, proceed to make the first cut directly through that point, dividing the cake into two equal halves․ Employ a long, sharp knife – a serrated knife works exceptionally well – and use a gentle sawing motion rather than pressing down․
Maintain a steady hand and aim for a clean, straight line․ Wipe the blade clean after each cut to prevent dragging and ensure a smooth finish․ This initial division establishes the foundation for creating symmetrical wedges․ Don’t worry if it’s not absolutely perfect; subsequent cuts will help refine the portions․ A confident, deliberate cut is essential here!
Step 3: Cutting Quarters
Now that the cake is halved, it’s time to create four equal quarters․ Take your sharp knife and carefully cut through the center point again, perpendicularly to the first cut․ Visualize dividing each half into two identical pieces․
Again, use a gentle sawing motion, keeping the blade clean between cuts․ Focus on maintaining straight lines to ensure even portions․ This step builds upon the initial division, progressively refining the cake into manageable slices․ Check for symmetry as you cut; slight adjustments can be made now to correct any minor imbalances․ Precision at this stage is key!
Step 4: Dividing Each Quarter into Two Pieces
With the cake now divided into quarters, the final step is to create eight equal pieces․ Take your knife and carefully bisect each quarter, again cutting through the center․ Maintain the same gentle sawing motion used previously, ensuring a clean cut through all layers․
Visualize each quarter splitting perfectly in half․ This final division completes the process, yielding eight evenly sized portions․ Double-check the slices for consistency; minor adjustments can still be made․ A well-executed cut results in a visually appealing and fair distribution for all guests․
Advanced Cutting Techniques for Even Serving Sizes
For precise portions, explore the grid method or utilize a cake server․ These techniques guarantee uniform slices, enhancing presentation and guest satisfaction․
The Grid Method for Precise Cuts
The grid method is a fantastic technique for achieving remarkably even cake slices, especially crucial for larger gatherings or when presentation is paramount․ Begin by lightly marking the diameter of your 8-inch cake with a sharp knife, creating a central cross․
Next, visualize and carefully cut lines radiating from the center, dividing the cake into eight equal wedges․ Then, cut concentric circles, creating a grid-like pattern․ This allows you to easily lift out individual, consistently sized portions․
This method is particularly effective for cakes with multiple layers and varying fillings, ensuring each guest receives a balanced bite․ Practice makes perfect, so don’t be discouraged if your first attempt isn’t flawless!
Using a Cake Server for Clean Slices
A cake server isn’t just for serving; it’s a vital tool for clean, professional-looking cuts․ Its thin, flat blade effortlessly glides through cake layers, minimizing crumbling and preserving the cake’s beautiful structure․ Dip the server in warm water and wipe it dry before each slice for even smoother results․
When cutting, use a gentle sawing motion rather than pressing down, which can compress the cake․ Lift each slice carefully with the server, supporting it from underneath to prevent breakage․ This technique is especially helpful with delicate cakes or those containing soft fillings․
A good cake server elevates the entire cake-cutting experience, making it easier and more elegant․
Dealing with Different Cake Layers & Fillings
Navigating varied layers and fillings requires a delicate touch! Soft fillings demand chilled cakes and clean cuts, while multiple layers need steady pressure․
Cutting Cakes with Multiple Layers
When tackling a multi-layered 8-inch round cake, a slightly different approach is crucial for maintaining structural integrity and ensuring clean slices․ Begin by applying gentle, downward pressure with a long, sharp knife․ Avoid sawing motions, as these can compress the layers and cause crumbling․
Rotate the cake slowly while keeping the knife steady, allowing the weight of the blade to guide the cut․ For cakes with particularly soft or delicate layers, consider chilling the cake thoroughly before cutting․ This will firm up the fillings and make slicing significantly easier․ A warm knife can also assist, especially with buttercream-filled cakes – dip the blade in hot water and wipe it dry between each cut․
Remember to wipe the knife clean after each slice to prevent filling from smudging onto the cake’s exterior, preserving a polished presentation․
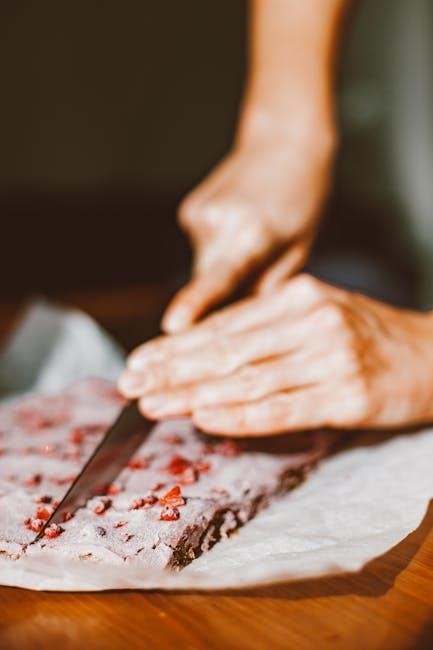
Handling Cakes with Soft Fillings
Cakes boasting luscious, soft fillings – like mousse, pastry cream, or fresh fruit – require extra care during cutting․ Chilling the cake is paramount; a colder cake holds its shape better, minimizing filling spillage and ensuring cleaner slices․ Utilize a long, thin-bladed knife, and gently warm it under hot water before each cut, wiping it dry immediately afterward․
Employ a slow, deliberate sawing motion rather than pressing straight down, allowing the knife to glide through the filling without squashing the layers․ Support the cake gently with your non-dominant hand as you rotate it․ If the filling is exceptionally soft, consider using a cake lifter or spatula to support the slices as you transfer them to plates․
Patience is key – prioritize neatness over speed!
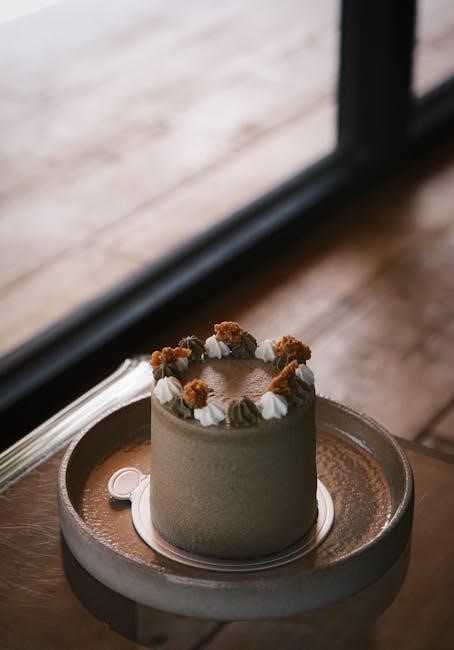
Serving Considerations
Elegant plate presentation enhances the enjoyment! Aim for balanced portions, showcasing the cake’s layers and filling․ Consider adding a garnish for visual appeal․
Plate Presentation Tips
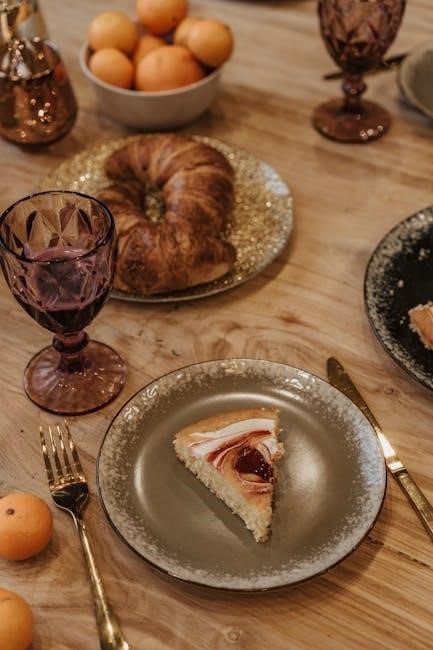
Elevate the dining experience with thoughtful plate presentation․ A simple swirl of sauce, like raspberry or chocolate, can create a beautiful base for the cake slice․ Fresh berries – strawberries, blueberries, or raspberries – add a pop of color and freshness, complementing the cake’s flavors․
A dusting of powdered sugar offers a classic, elegant touch․ Consider a small sprig of mint for a vibrant green accent․ Don’t overcrowd the plate; allow the cake to be the star․ The plate itself matters – choose one that complements the cake’s style and color scheme․
Finally, ensure the plate is clean and free of crumbs before serving․ A polished presentation demonstrates care and attention to detail, making each slice feel special․
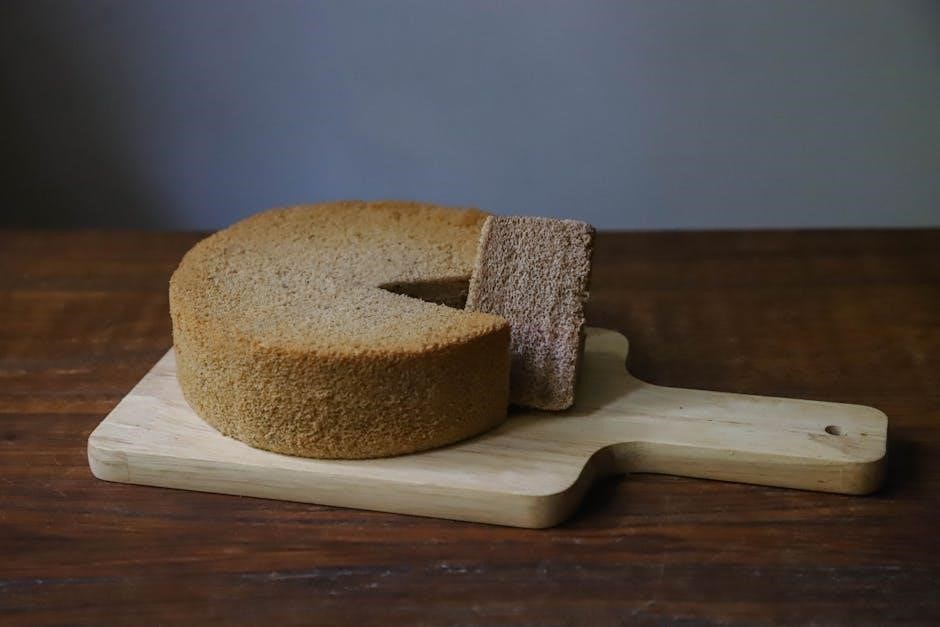
Portion Sizes for an 8-Inch Cake
An 8-inch round cake typically yields 12-16 servings, depending on how generously you cut․ For standard dessert portions, aiming for 12 slices is a good starting point․ Each slice will be a satisfying, yet not overly large, serving size for most guests․
If you’re serving alongside other desserts, you can comfortably cut 16 slices, offering smaller, more delicate portions․ Consider your guests’ appetites and the overall menu when determining slice size․ A typical slice should be approximately 1․5 inches wide at the crust․
Remember, presentation also influences perception – a beautifully plated smaller slice can feel just as satisfying as a larger one!
Troubleshooting Common Cutting Issues
Addressing crumbling or uneven slices is simple! Use a warm, clean knife and gentle pressure for neat cuts, ensuring a beautiful presentation every time․
Cake Crumbling During Cutting
Experiencing a cake that crumbles while cutting can be frustrating, but several techniques can minimize this issue․ Firstly, ensure your knife is adequately warmed – a warm blade glides through the cake more cleanly than a cold one․ You can warm it under hot water, then dry thoroughly․
Secondly, avoid sawing back and forth; instead, use a gentle, downward pressing motion with a long, smooth stroke․ Thirdly, consider the cake’s texture; drier cakes are more prone to crumbling․ A slightly dampened knife can help, but avoid over-wetting․
Finally, if the cake is very delicate, chilling it briefly before cutting can firm it up, making it easier to slice without causing excessive crumbs․ Remember, patience and a steady hand are key!
Uneven Slice Sizes – How to Correct
Achieving uniform slices is crucial for a polished presentation․ If you notice uneven sizes during cutting, don’t panic! Firstly, assess the discrepancies – are some slices significantly larger than others? Secondly, carefully trim the larger slices, transferring the excess cake to smaller portions․
Alternatively, you can subtly redistribute frosting from larger slices to smaller ones, visually balancing the portions․ Remember, guests are often more concerned with taste than perfect symmetry․
For future cuts, focus on precise measurements and consistent angles․ Using a pre-marked guide, as described earlier, can significantly improve accuracy․ Don’t strive for perfection, but aim for reasonably equal servings for everyone to enjoy!
Alternative Cutting Patterns
Beyond traditional wedges, explore creative cuts! For smaller groups, consider cutting fewer, larger slices․ A buffet-style approach allows guests to self-serve portions․
Cutting for Smaller Groups
When serving a limited number of guests, avoid creating excessive, smaller slices that can appear wasteful and become difficult to manage․ Instead, opt for fewer, more substantial portions․ For instance, if you’re serving only four people, divide the 8-inch round cake into four equal wedges․
This approach ensures each person receives a generous serving, minimizing leftovers and maintaining a visually appealing presentation․ Consider a single, clean cut through the center, followed by two perpendicular cuts to achieve four even pieces․ This method is particularly suitable for intimate gatherings where a larger slice is appreciated․ Remember to use a sharp knife for clean cuts!
Cutting for a Buffet Style Service
For a buffet setting, prioritize creating numerous, bite-sized portions to encourage guests to sample the cake without committing to a large slice․ Begin by dividing the 8-inch round cake into sixteen or even twenty-four equal wedges․ This requires precise quartering and subsequent divisions․
Smaller slices facilitate easy handling and allow guests to enjoy a variety of desserts․ Ensure the slices are neatly arranged on a platter, maintaining a visually appealing display․ A cake server is invaluable for transferring these smaller portions without crumbling․ Consider staggering the slices for a fuller look and easier access for all attendees․
Cake Cutting Etiquette
Traditionally, the bride and groom share the first cut, symbolizing their first joint task․ This moment is often photographed, creating a lasting memory!
Traditional Customs and Symbolism
The wedding cake cutting ceremony is steeped in tradition, evolving over centuries․ Originally, the crumbling of the cake over the bride’s head symbolized good luck and fertility – thankfully, this practice is largely outdated! Today, the shared first cut represents the couple’s first joint task as husband and wife, signifying cooperation and a shared future․
The bride traditionally holds the top of the cake while the groom guides the knife, demonstrating their combined strength and unity․ A smooth cut is desired, representing a harmonious marriage․ Feeding each other a bite of cake is a playful gesture symbolizing their commitment to providing for one another․ This sweet tradition adds a delightful and intimate moment to the celebration, cherished by both the couple and their guests․
Storing Leftover Cake
Proper storage maintains freshness! Wrap leftover cake tightly in plastic wrap, then foil, or place in an airtight container for up to three days․
Proper Storage Techniques
Maintaining the quality of your leftover 8-inch round cake relies heavily on employing the correct storage methods․ Begin by allowing any remaining slices to cool completely before attempting to preserve them․ This prevents condensation from forming, which can lead to a soggy texture․
Once cooled, tightly wrap each slice individually in plastic wrap, ensuring a secure seal to minimize air exposure․ For longer storage, consider double-wrapping – first with plastic wrap, then with aluminum foil․ Alternatively, place the wrapped slices in an airtight container․
Refrigeration is key; store the cake in the refrigerator for up to three to four days․ If freezing, wrap securely as described above and freeze for up to two months․ Thaw overnight in the refrigerator before serving․