Hampton Bay Landscape Lighting Manual: A Comprehensive Guide
Home Depot’s expanding Hubspace line offers affordable smart home solutions, including landscape lighting; these spotlights are compared to Philips Hue Lily, noting construction differences.
Understanding Hampton Bay Landscape Lighting Systems
Hampton Bay landscape lighting provides an accessible entry point into outdoor illumination, offering a range of systems from basic plug-and-play setups to more sophisticated, smart-enabled configurations utilizing the Hubspace ecosystem. These systems are generally designed for DIY installation, emphasizing ease of use and affordability.
A key characteristic is their low-voltage operation, typically 12V, enhancing safety and simplifying installation compared to traditional line-voltage systems. The core components usually include a transformer, low-voltage wiring, and various lighting fixtures like spotlights, path lights, and well lights. Understanding the interplay between these elements is crucial for successful setup and operation.
Hubspace integration introduces smart control features, allowing users to manage lighting schedules, adjust brightness, and even control lights remotely via a mobile app. However, the system’s reliance on Home Depot’s ecosystem means compatibility with other smart home platforms might be limited, a factor to consider for users invested in broader smart home setups.
Components of a Typical Hampton Bay System

A standard Hampton Bay low-voltage landscape lighting system comprises several key components working in harmony. The transformer is central, converting standard household voltage (120V) to a safer, low-voltage output (typically 12V or 15V) for the lights. Low-voltage wiring, commonly 16/2 or 14/2 gauge, connects the transformer to each fixture.
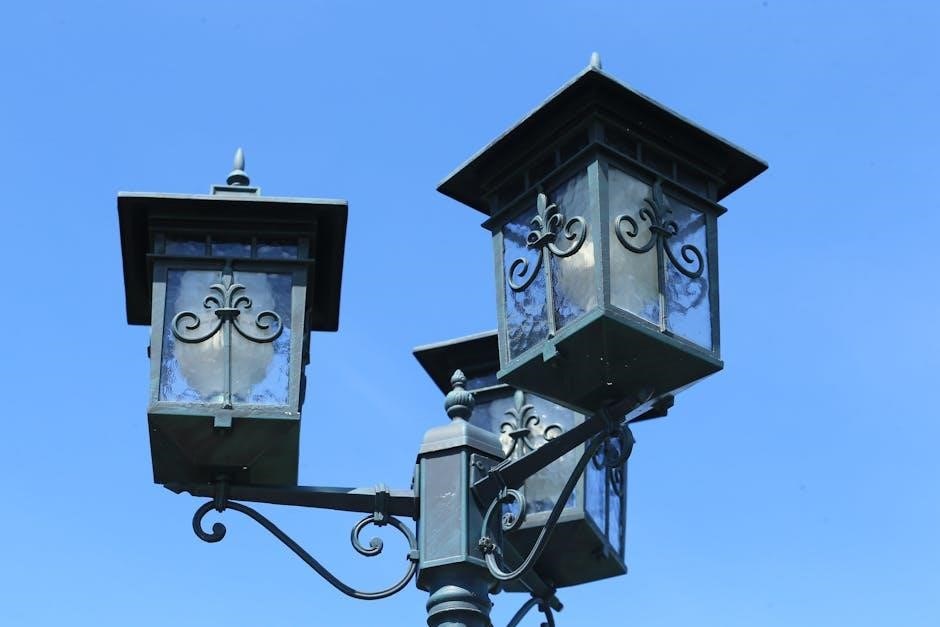
Lighting fixtures themselves vary widely – spotlights for accenting features, path lights for walkways, and well lights for subtle illumination. Connectors and wire stakes are essential for secure and weatherproof connections. Systems incorporating Hubspace technology include a smart hub for wireless control and connectivity.
The quality of these components can vary; budget-focused systems may utilize simpler materials compared to premium brands like Philips Hue. Understanding the function of each part is vital for proper installation, troubleshooting, and future maintenance, ensuring a long-lasting and effective outdoor lighting solution.
Hampton Bay Hubspace System Overview
The Hampton Bay Hubspace system integrates smart technology into your landscape lighting, offering convenient control via a mobile app. This system centers around a Hubspace-compatible transformer, acting as the central connection point and enabling wireless communication with the lights. Unlike traditional systems, Hubspace allows for remote operation, scheduling, and automation of your outdoor lighting.
The Hubspace app provides features like dimming, color adjustments (with compatible bulbs), and grouping lights into zones. Setup involves connecting the transformer to your home’s Wi-Fi network and pairing the lights through the app. This system aims to provide a user-friendly experience, rivaling more expensive options like Philips Hue, while remaining budget-conscious.
However, it’s important to note that Hubspace functionality relies on a stable Wi-Fi connection and the continued support of the Hubspace platform.
Transformer Installation & Setup
Transformer installation is a crucial first step. Choose a weatherproof location, preferably near a grounded electrical outlet. Ensure the transformer is protected from direct rain and snow. Connect the transformer’s primary side to the outlet, observing all local electrical codes. Always power off the circuit breaker before making any connections!
Next, connect the low-voltage landscape lighting wires to the transformer’s secondary side terminals. Pay attention to the voltage and wattage ratings of both the transformer and your lighting fixtures; Properly calculating these values (discussed later) prevents overloading the system.
After wiring, test the system before burying any wires. A successful setup will illuminate all connected fixtures. Secure the transformer to a stable surface and consider using a timer for automated operation.
Calculating Wattage and Voltage Drop
Accurate wattage calculation is vital for a functional system. Sum the wattage of all connected fixtures – this total must be less than the transformer’s rated wattage. Exceeding this limit risks overheating and potential failure. Remember to account for future expansion; leave some wattage headroom.
Voltage drop occurs as electricity travels along the wire, diminishing its power. Longer wire runs exacerbate this issue. Use a voltage drop calculator (available online) to determine appropriate wire gauge. Cerrowire 16/2 is often sufficient for shorter runs, but 14/2 may be necessary for longer distances to maintain optimal brightness.
Factors like wire length, wattage, and voltage influence drop. Minimizing drop ensures consistent illumination across your landscape. Ignoring this can lead to dim or flickering lights.
Wiring Your Landscape Lighting
Low-voltage landscape lighting utilizes direct burial wire, connecting fixtures back to the transformer. Ensure the transformer is properly grounded and connected to a GFCI-protected outlet for safety. Begin by running the main trunk line from the transformer to the furthest fixture location, then branch off to subsequent lights.
Waterproof connectors are crucial for preventing corrosion and maintaining a reliable connection. Use appropriate connectors designed for low-voltage landscape lighting. Carefully strip the wire insulation, avoiding damage to the conductors. Securely twist the wires together before applying the connector.
Proper wiring ensures consistent power delivery and prevents shorts. Always test connections with a multimeter before powering on the system.
Choosing the Right Low-Voltage Wire (16/2 vs. 14/2)
Selecting the correct gauge of low-voltage wire is vital for optimal performance. 16/2 wire is commonly used for shorter runs, typically under 75 feet, and for systems with fewer fixtures. It’s more affordable and easier to work with, suitable for basic landscape lighting setups.
14/2 wire, however, is recommended for longer runs exceeding 75 feet or systems with numerous lights. The thicker conductors in 14/2 wire minimize voltage drop, ensuring brighter and more consistent illumination across all fixtures. It provides greater capacity for handling higher wattage loads.
Consider the total wattage of your lighting system and the distance from the transformer when making your choice. Cerrowire is a frequently reviewed brand.
Spotlight & Fixture Installation
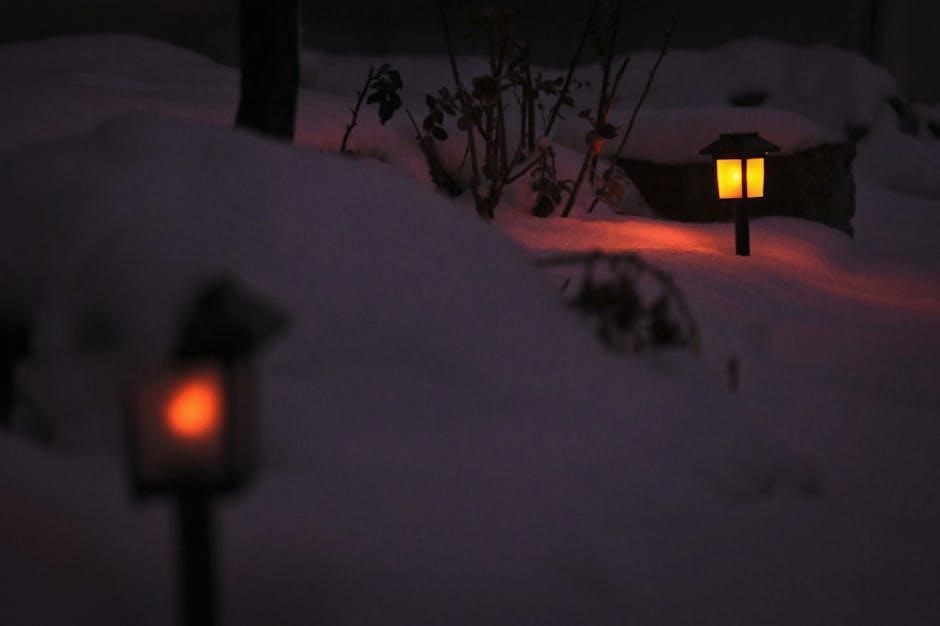
Proper fixture placement dramatically impacts your landscape’s aesthetic appeal. Begin by strategically positioning spotlights to highlight key features like trees, shrubs, or architectural elements. Ensure fixtures are securely mounted, utilizing stakes or mounting hardware appropriate for the surface.
Connect the low-voltage wires to the fixture leads, using waterproof connectors to prevent corrosion and ensure a reliable connection. Carefully conceal the wires by burying them a few inches below the ground or utilizing landscape fabric for protection.
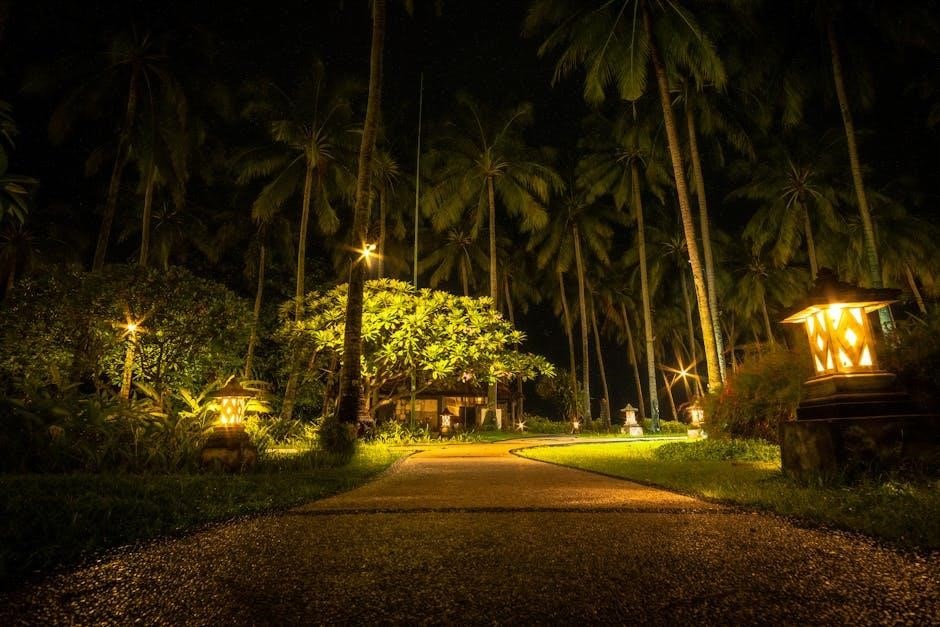
Adjust the spotlight angles to achieve the desired illumination effect. Test each fixture after installation to confirm proper operation before proceeding with the entire system.
Troubleshooting Common Issues
Addressing problems promptly ensures your landscape lighting remains vibrant. If lights fail to illuminate, first verify the transformer’s power supply and check for tripped circuit breakers. Inspect all wire connections for looseness or corrosion, as these are frequent culprits.
Dim or flickering lights often indicate voltage drop issues, potentially caused by excessive wire length or insufficient wire gauge. Confirm bulb compatibility and replace any burned-out bulbs.
For persistent issues, systematically isolate sections of the lighting circuit to pinpoint the source of the problem. Consult the Hampton Bay manual or online resources for specific troubleshooting guidance related to your system model.
Lights Not Turning On
When lights refuse to illuminate, begin with the basics: ensure the transformer is receiving power and hasn’t tripped a breaker. A simple reset of the transformer can sometimes resolve the issue. Next, meticulously inspect each wire connection, looking for loose fittings or signs of corrosion – these are common causes of power interruptions.
Bulb functionality should also be checked; replace any bulbs that appear burned out or damaged. Verify that the bulbs are compatible with your Hampton Bay system’s voltage requirements. If the problem persists, isolate sections of the wiring to identify where the power is being lost, systematically checking each fixture.
Dim or Flickering Lights
Dim or flickering lights often indicate voltage drop issues within the system. This commonly occurs when the total wattage of connected fixtures exceeds the transformer’s capacity, or the wire gauge is insufficient for the distance. Review your wattage calculations to ensure you’re within the transformer’s limits; longer wire runs necessitate thicker gauge wire (like 14/2 instead of 16/2).
Loose connections can also cause intermittent power delivery, resulting in flickering. Carefully inspect all wire connectors and ensure they are securely fastened. Corrosion within the connections can impede current flow, so cleaning or replacing corroded connectors is crucial. Finally, confirm bulb compatibility, as incorrect bulbs can exhibit unstable performance.
Replacing Bulbs & Maintenance
Regular maintenance extends the lifespan of your Hampton Bay landscape lighting. Bulbs will eventually burn out and require replacement; always use bulbs with the correct voltage and wattage specified for your fixtures. Before replacing, disconnect power at the transformer. Inspect fixtures annually for corrosion, debris buildup, and damage to wiring or lenses.
Cleaning fixtures with a mild soap and water solution restores brightness. Check wire connections for tightness and corrosion, addressing any issues promptly. Consider applying a silicone-based sealant to connections to prevent future corrosion. Store spare bulbs and connectors for quick repairs, ensuring your landscape remains beautifully illuminated year-round.
Hampton Bay Smart Lighting Features (Hubspace)
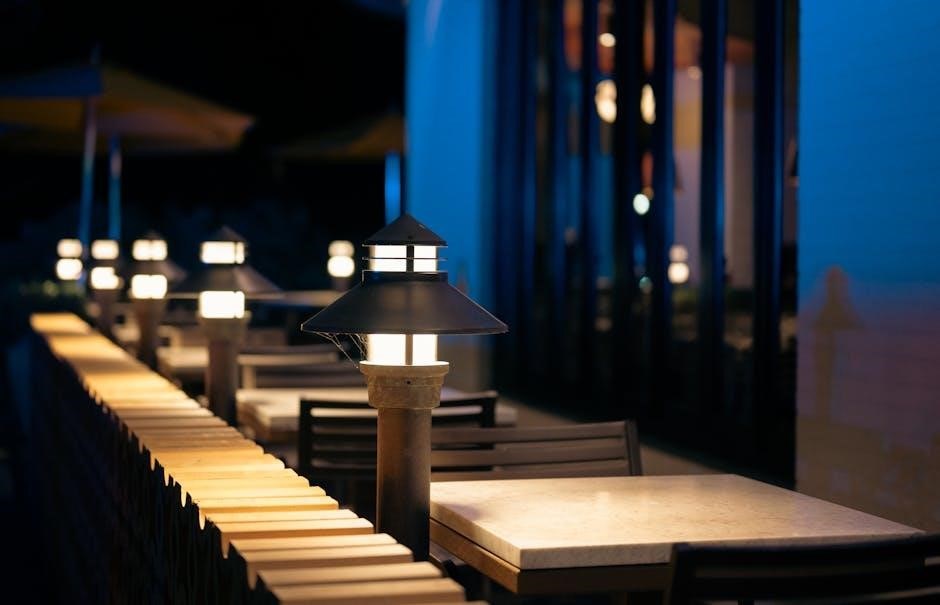
Hampton Bay’s Hubspace system brings smart control to your landscape lighting. Utilizing the Hubspace app, you can remotely manage your lights from anywhere with an internet connection. The system allows for individual fixture control, grouping lights into zones, and creating customized lighting scenes for various occasions.
Integration with voice assistants like Google Assistant and Amazon Alexa enables hands-free operation. Hubspace offers advanced features like scheduling, allowing you to automate your lighting based on time of day or sunrise/sunset. This enhances security and convenience, providing a truly personalized outdoor lighting experience. Explore the app’s features to unlock the full potential of your system.
Connecting to the Hubspace App
To begin utilizing the smart features of your Hampton Bay landscape lighting, download the Hubspace app from the App Store (iOS) or Google Play Store (Android). Ensure your Hubspace transformer is powered on and connected to your home’s Wi-Fi network. Open the app and create an account, or log in if you already have one.
The app will guide you through the device discovery process. Follow the on-screen instructions to add your transformer and individual lighting fixtures. You may need to press a button on the transformer to initiate pairing. Once connected, you can assign names to each fixture for easy identification and control within the app. Successful connection unlocks remote management and scheduling capabilities.
Scheduling and Automation
The Hubspace app empowers you to create customized schedules for your Hampton Bay landscape lighting. Set specific on and off times for each fixture, or group lights together for synchronized illumination. This feature enhances security by simulating occupancy while you’re away, and adds convenience by automating your outdoor lighting.
Beyond simple scheduling, explore automation possibilities. Configure lights to respond to sunrise and sunset times, adjusting brightness levels automatically. Integrate with other Hubspace smart home devices for more complex scenarios. For example, trigger lights to turn on when motion is detected. These features provide a personalized and energy-efficient lighting experience, all controlled through the intuitive Hubspace app.
Comparing Hampton Bay to Philips Hue Lily
Hampton Bay landscape lighting, particularly within the Hubspace ecosystem, presents a budget-friendly alternative to the premium Philips Hue Lily system. While Hue boasts superior construction quality and more sophisticated wiring, Hampton Bay delivers considerable value for the price. The trade-offs involve slightly less robust build materials and a potentially simpler wiring approach.
Hue offers a wider range of color options and integration capabilities, while Hampton Bay focuses on providing reliable, automated illumination. A complete Hampton Bay setup, including a transformer and wiring, can be significantly less expensive than a comparable Philips Hue system. This makes Hampton Bay an attractive option for homeowners seeking smart landscape lighting without a substantial investment.
Safety Precautions & Best Practices
Always disconnect the transformer from the power source before working on any wiring or fixtures. Low-voltage doesn’t mean no voltage – exercise caution! When burying cables, adhere to local electrical codes regarding depth and protection; typically, a minimum of 6 inches is recommended. Avoid running wires across walkways or areas prone to damage.
Inspect all wiring connections regularly for corrosion or damage, and ensure waterproof connectors are used in damp locations. Never overload the transformer; carefully calculate the total wattage of connected fixtures. Consider using a Ground Fault Circuit Interrupter (GFCI) outlet for added safety. Proper installation and maintenance are crucial for a safe and reliable landscape lighting system.
Where to Find Hampton Bay Landscape Lighting Manuals Online
Finding specific manuals for Hampton Bay landscape lighting can sometimes be challenging, but several online resources are available. The primary source is the Home Depot website itself; navigate to the product page for your specific lighting system and look for a “Manuals & Guides” section, often found under “Resources” or “Support”.
ManualsLib and ManualsOnline are third-party websites that frequently host user-uploaded manuals for various products, including Hampton Bay lighting. A general web search using the product model number and “manual” or “guide” can also yield results. Remember to verify the manual’s applicability to your specific system, as models can vary. Hubspace system manuals are often available as PDFs for download.