This guide streamlines your workflow‚ boosting productivity with the Honeywell Th6320R1004. It offers efficient control and is a valuable resource for installation and operation.
Overview of the Th6320R1004 Model
The Honeywell Th6320R1004 is a popular‚ non-programmable thermostat designed for reliable heating and cooling control. It’s a straightforward replacement for most 24V heating and cooling systems‚ offering ease of use without complex scheduling features. This model prioritizes simplicity‚ making it ideal for users who prefer manual temperature adjustments.
As highlighted in available resources‚ understanding its capabilities is key to a successful installation. The Th6320R1004 doesn’t require a ChatGPT Plus subscription or complex API integrations‚ focusing solely on core thermostat functionality. It’s a cost-effective solution for maintaining comfortable temperatures‚ and this manual will guide you through a smooth setup process.

Key Features and Benefits
The Honeywell Th6320R1004 boasts several key advantages. Its simplicity ensures easy operation‚ eliminating the need for complex programming or smart home integrations – unlike systems requiring ChatGPT or API access. It provides accurate temperature control for consistent comfort‚ and its compatibility with standard 24V HVAC systems makes it a versatile replacement option.
Benefits include a clear‚ easy-to-read display and reliable performance. While not offering advanced features like Wi-Fi connectivity or energy-saving schedules‚ its straightforward design minimizes troubleshooting. This manual focuses on maximizing these core benefits through a clear‚ step-by-step installation process‚ ensuring a functional and dependable thermostat.
Pre-Installation Considerations
Before starting‚ prioritize safety and gather necessary tools. Verify your HVAC system’s compatibility with the Th6320R1004 to ensure a smooth installation process.
Safety Precautions
Prior to commencing any installation work‚ always disconnect power to your HVAC system at the breaker box. This crucial step prevents electrical shock and ensures your safety. Exercise caution when handling wiring‚ and if you are uncomfortable or unfamiliar with electrical work‚ consult a qualified HVAC professional;
Carefully read and understand all instructions within this manual before beginning. Avoid installing the thermostat in areas exposed to direct sunlight‚ extreme temperatures‚ or moisture‚ as this can affect its performance and longevity. Keep small parts and packaging away from children. Proper grounding is essential; never bypass grounding connections. Following these precautions will help guarantee a safe and successful installation.
Tools Required for Installation
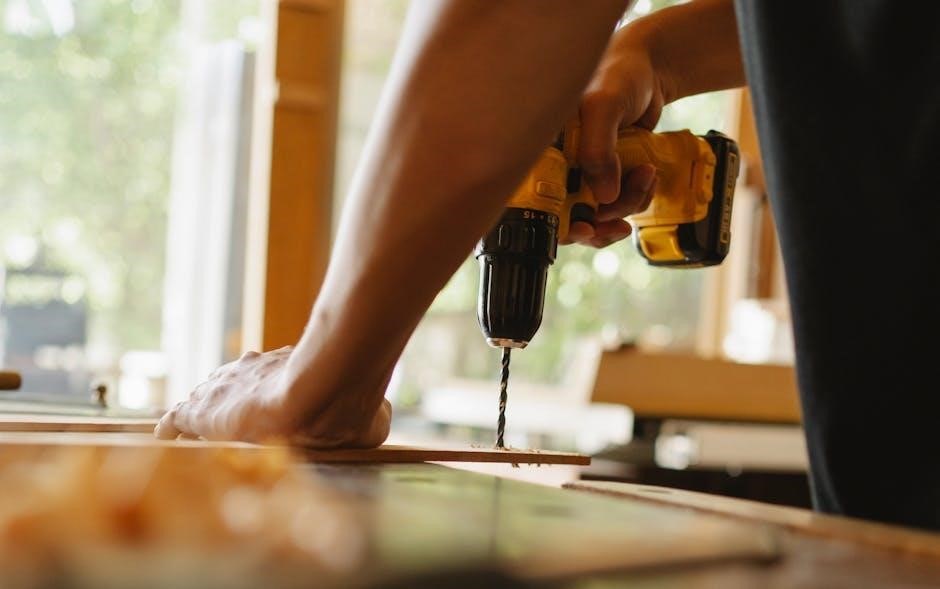
To ensure a smooth and efficient installation of your Honeywell Th6320R1004 thermostat‚ gather the following tools beforehand. You will need a Phillips head screwdriver for removing and securing the thermostat and base plate. A flathead screwdriver may also be useful for certain wiring connections.
Wire strippers are essential for preparing the thermostat wires‚ ensuring clean and secure connections. A small level will help ensure the base plate is mounted straight. A pencil is handy for marking wire locations and mounting holes. Finally‚ a digital multimeter can be beneficial for verifying power is off and testing wire continuity. Having these tools readily available will simplify the installation process.
Compatibility Check: HVAC Systems
Before beginning the installation‚ verifying compatibility with your existing HVAC system is crucial. The Honeywell Th6320R1004 is generally compatible with most 24V heating and cooling systems‚ including furnaces‚ air conditioners‚ heat pumps‚ and boilers.
However‚ it’s not compatible with line voltage systems (110V or 220V) or systems utilizing proprietary communication protocols. Carefully review your current thermostat wiring and compare it to the wiring diagram included with the Th6320R1004. If you have a complex system or are unsure about compatibility‚ consulting a qualified HVAC technician is highly recommended to avoid potential damage or malfunction.

Installation Process: Step-by-Step Guide
Follow these clear‚ concise steps for a successful installation: remove the old thermostat‚ label wires‚ mount the base plate‚ and connect the wiring carefully.
Step 1: Removing the Old Thermostat
Before beginning‚ ensure power is completely shut off to your HVAC system at the breaker box. This is a crucial safety precaution. Carefully remove the cover of your existing thermostat to expose the wiring. Take a clear‚ detailed photograph of the current wiring configuration – this will be an invaluable reference during the installation of your new Honeywell Th6320R1004.
Gently disconnect the wires one at a time‚ avoiding any shorts. As you disconnect each wire‚ consider temporarily labeling it with a small piece of tape indicating its terminal designation (e.g.‚ R‚ W‚ G‚ Y). This meticulous labeling will prevent confusion and ensure correct connections later. Once all wires are disconnected‚ carefully remove the old thermostat base plate from the wall.
Step 2: Identifying and Labeling Wires
Accurate wire identification is paramount for a successful installation. Refer to the photograph you took of the old thermostat’s wiring. Common wire designations include R (power)‚ W (heat)‚ G (fan)‚ Y (cooling)‚ and C (common). If wires aren’t labeled‚ or the labels are unclear‚ use the terminal markings on your old thermostat as a guide.
Utilize the provided wire labels and carefully wrap each label around the corresponding wire. Ensure the label clearly displays the terminal letter. Double-check your work‚ comparing the labeled wires to your photograph. A mislabeled wire can cause your HVAC system to malfunction. If you encounter any uncertainty‚ consult a qualified HVAC technician before proceeding.
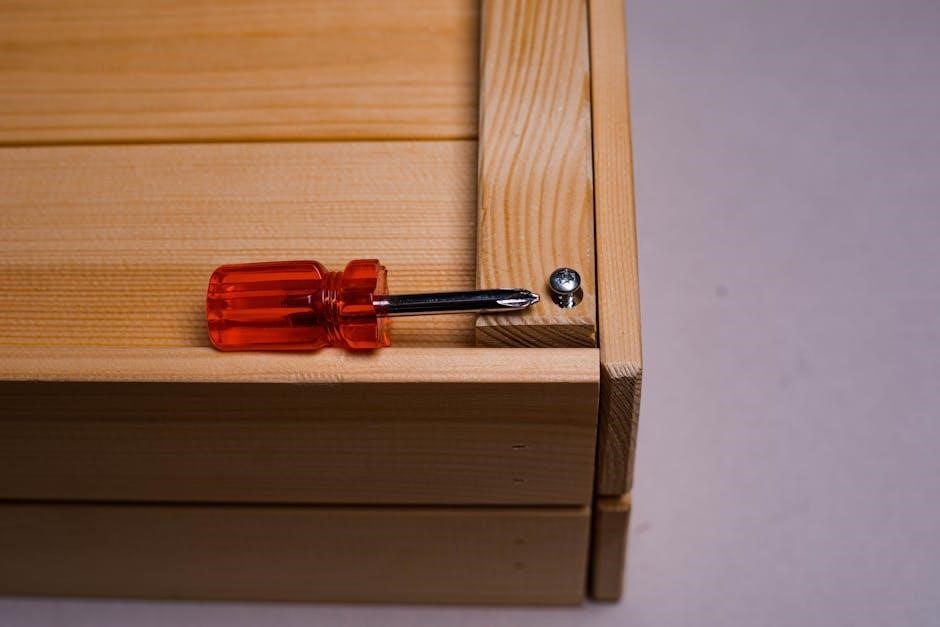
Step 3: Mounting the Th6320R1004 Base Plate
With the wires identified and labeled‚ mount the Th6320R1004 base plate to the wall. Position the base plate‚ ensuring it’s level for accurate temperature readings. Use the screws provided in the kit; pre-drilled holes in the wall may already be present from the previous thermostat.
If new holes are needed‚ mark their locations with a pencil‚ then drill pilot holes before inserting the screws. Avoid over-tightening the screws‚ as this could damage the wall or the base plate. Once securely mounted‚ gently tuck any excess wire length back into the wall opening‚ ensuring they don’t interfere with the base plate or wiring connections.
Step 4: Connecting the Wires to the Base Plate
Carefully connect each labeled wire to the corresponding terminal on the Th6320R1004 base plate. Refer to the wiring diagram included with the thermostat and the labels you applied earlier. Ensure each wire is firmly inserted into its terminal; a gentle tug confirms a secure connection.
Double-check all connections against the diagram to prevent errors. Incorrect wiring can damage your HVAC system. Once all wires are connected‚ gently arrange them to avoid shorts or strain on the terminals. The base plate should now have all necessary wires securely attached‚ preparing it for the thermostat unit itself.

Powering Up and Initial Configuration
Restore power to your HVAC system and follow the on-screen prompts for initial setup. Connect to Wi-Fi for smart features if available.
Restoring Power to the HVAC System
After carefully connecting all wires to the Th6320R1004 base plate‚ it’s time to restore power to your heating‚ ventilation‚ and air conditioning (HVAC) system. Locate the circuit breaker that controls your HVAC unit – typically found in your home’s electrical panel. Ensure the breaker is in the ‘OFF’ position before beginning any wiring work‚ and now‚ carefully switch it back to the ‘ON’ position.
Observe your HVAC system. You should hear the familiar sounds of it initializing. The thermostat display should illuminate‚ indicating it’s receiving power. If the display remains blank‚ double-check the breaker and all wire connections. A lack of power is often due to a tripped breaker or a loose wire. Proceed to the initial thermostat setup once power is confirmed;
Initial Thermostat Setup
With power restored‚ the Honeywell Th6320R1004 will guide you through an initial setup process. The display will prompt you to confirm your system type – furnace‚ heat pump‚ or boiler. Select the option that accurately reflects your HVAC configuration. Next‚ the thermostat will likely ask about fuel type (gas‚ oil‚ electric). Accurate selection is crucial for proper operation.
Follow the on-screen instructions to cycle through a basic heating and cooling test. This verifies that the thermostat correctly signals your HVAC system to turn on and off. Pay attention to any error messages during this test; they indicate potential wiring issues. Once the test is complete‚ you’re ready to proceed to Wi-Fi connection‚ if applicable.
Connecting to Wi-Fi (if applicable)
If your Honeywell Th6320R1004 model supports Wi-Fi‚ connecting it unlocks remote control and advanced features. From the thermostat’s menu‚ navigate to the network settings. The thermostat will scan for available Wi-Fi networks. Select your home network from the list and enter your password when prompted; Ensure you’re using a 2.4 GHz network‚ as many smart thermostats don’t support 5 GHz.
Once connected‚ the thermostat will display a confirmation message. You may then need to create a Honeywell Home account (or log in to an existing one) through the Honeywell Home app on your smartphone or tablet. This app enables remote access and control of your thermostat‚ along with scheduling and energy usage monitoring.
Programming and Customization
Tailor your comfort! Adjust date‚ time‚ and create personalized schedules to optimize temperature preferences‚ maximizing energy savings and convenience with your thermostat.
Setting Date and Time
Accurate date and time settings are crucial for proper scheduling and operation of your Honeywell Th6320R1004 thermostat. Upon initial power-up‚ or after a power outage‚ the thermostat will likely require these settings to be configured. Navigate to the thermostat’s menu – typically accessed via the ‘Menu’ or ‘Settings’ button on the device.
Within the menu‚ locate the ‘Date’ and ‘Time’ options. Use the up and down arrow buttons to adjust the month‚ day‚ and year. Similarly‚ adjust the hour and minute to reflect the current time. Ensure you correctly set the AM/PM indicator. Saving these settings is usually done by pressing the ‘OK’ or ‘Save’ button. Correct date and time ensure schedules function as intended‚ providing optimal comfort and energy efficiency.
Creating Schedules
The Honeywell Th6320R1004 allows for customized heating and cooling schedules to maximize comfort and energy savings. Access the ‘Schedule’ option within the thermostat’s menu. You can typically create different schedules for weekdays and weekends‚ or even individual days. Define ‘Wake‚’ ‘Leave‚’ ‘Return‚’ and ‘Sleep’ periods‚ setting desired temperatures for each.
For each period‚ specify the start time and the target temperature. The thermostat will automatically adjust the temperature based on your programmed schedule. Consider your daily routines when creating schedules – lower temperatures while away and during sleep‚ and comfortable temperatures when home and awake. Regularly reviewing and adjusting schedules ensures continued efficiency and comfort.
Adjusting Temperature Preferences
The Honeywell Th6320R1004 offers flexible temperature control to suit individual comfort levels. Use the up and down arrow buttons on the thermostat interface to directly adjust the setpoint temperature. You can also access temperature preferences within the menu settings‚ allowing for more precise adjustments. Explore options like ‘Differential’ settings‚ which control the temperature range before the system cycles on or off.
Consider utilizing the ‘Hold’ function for temporary overrides to your programmed schedule. This is useful for unexpected changes in occupancy or comfort needs. Remember to cancel the ‘Hold’ to resume the scheduled programming. Regularly fine-tuning temperature preferences ensures optimal comfort and energy efficiency throughout the year.
Troubleshooting Common Issues
Addressing issues like power failures‚ incorrect readings‚ or Wi-Fi connectivity problems is crucial for optimal performance of your Honeywell Th6320R1004 thermostat.
Thermostat Not Powering On
If your Honeywell Th6320R1004 thermostat fails to power on‚ begin by verifying the power supply at the furnace or HVAC system. Ensure the circuit breaker controlling the HVAC system hasn’t tripped. Double-check all wiring connections at both the thermostat base and the HVAC unit‚ confirming secure and correct placement according to the wiring diagram.
A common issue involves a disconnected or improperly installed ‘C-wire’ (common wire)‚ essential for providing continuous power. If a C-wire isn’t present‚ a C-wire adapter might be necessary. Inspect the thermostat’s batteries (if applicable) and replace them if depleted. Finally‚ confirm the thermostat is correctly mounted on the base plate‚ establishing a solid electrical connection.
Incorrect Temperature Readings
If the Honeywell Th6320R1004 displays inaccurate temperature readings‚ first verify the thermostat isn’t directly exposed to sunlight‚ drafts‚ or heat-generating appliances. These external factors can significantly skew temperature sensing. Ensure proper airflow around the thermostat; obstructions can lead to false readings.
Calibrate the thermostat through the settings menu‚ adjusting the displayed temperature to match a known accurate thermometer. Check for loose wiring connections at the temperature sensor. If the problem persists‚ consider a potential sensor malfunction‚ requiring professional HVAC assistance. Confirm the thermostat’s location isn’t influencing its ability to accurately measure ambient temperature.
Wi-Fi Connectivity Problems
Experiencing Wi-Fi issues with your Honeywell Th6320R1004? First‚ confirm your home network is functioning correctly and that the thermostat is within range of your router. Double-check the Wi-Fi password entered during setup – even a minor typo can prevent connection. Restart both your router and the thermostat; this often resolves temporary glitches.
Ensure your router’s firmware is up-to-date. Some routers may have compatibility issues; consult Honeywell’s support resources for known conflicts. If problems continue‚ try temporarily disabling your router’s firewall to see if it’s blocking the thermostat’s access. Finally‚ consider resetting the thermostat’s Wi-Fi settings and re-attempting the connection process.
Advanced Features and Settings
Explore smart home integration and energy-saving modes for optimal performance. Customize your Honeywell Th6320R1004 with these features to enhance control and efficiency.
Smart Home Integration
The Honeywell Th6320R1004 thermostat offers exciting possibilities for integration within a broader smart home ecosystem. While specific details depend on your chosen platform‚ compatibility generally extends to popular systems. This allows for centralized control of your home’s climate alongside other smart devices‚ such as lighting‚ security systems‚ and entertainment centers.
Integration often involves connecting the thermostat to a smart home hub‚ enabling voice control via assistants like Amazon Alexa or Google Assistant. Imagine adjusting the temperature with a simple voice command! Furthermore‚ integration unlocks remote access and control through smartphone apps‚ providing convenience and energy savings. Explore the compatibility options with your preferred smart home platform for a seamless and connected experience.
Energy Saving Modes
The Honeywell Th6320R1004 thermostat is equipped with several energy-saving modes designed to reduce your heating and cooling costs. These features allow you to optimize energy consumption without sacrificing comfort; Smart Recovery learns your heating and cooling patterns to anticipate temperature changes‚ minimizing energy waste.
Schedule settings are crucial; program different temperatures for when you’re home‚ away‚ or asleep. Geofencing‚ if supported by your system‚ adjusts the temperature based on your location. Utilizing these modes can significantly lower utility bills and reduce your carbon footprint. Regularly reviewing and adjusting these settings ensures continued energy efficiency and personalized comfort throughout the year.